How to start seeds indoors.
Are you a beginner in gardening and want to know how to start your seeds indoors? Then this article can help you. Seeds are started 6 weeks before the last frost date. Seed starting can vary based on your location and the type of seeds you sow. Certain seeds find it difficult to recover from transplants so they must be sown in the soil directly. Others can be sowed and transplanted outside when the weather conditions are warm.
Materials needed for starting seeds indoors
- Small containers
- Seed starting mix
- Seeds
- Labels
- Heat mat (optional)
- Bright light (optional)
- Oscillating fan.
How to start seeds indoors:
-
Before you purchase the seeds you are going to grow, make sure they can grow in your region’s climatic conditions and also buy seeds that are more resistant to diseases and pests. You will need labels that will help you to identify what seeds you have planted in containers. So buy enough labels too.
-
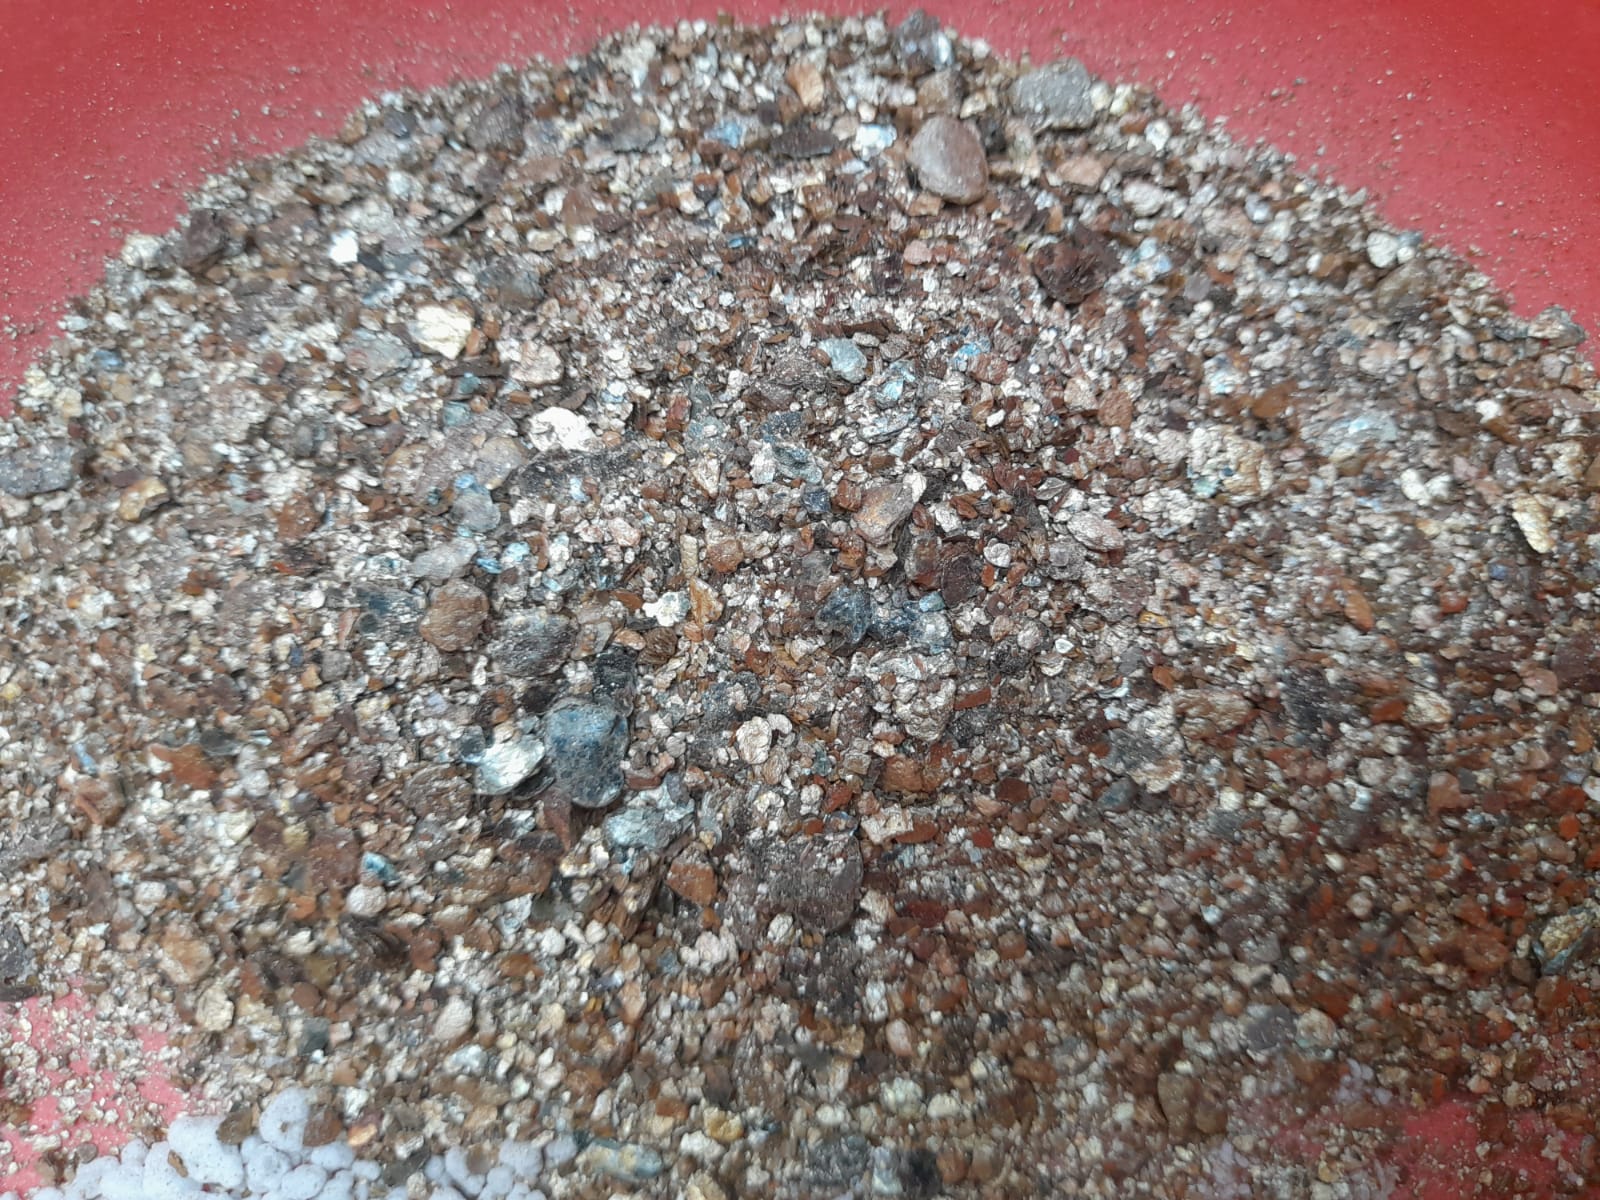
Next, you will need to prepare a seed starting mix for your seeds. You can prepare your own seed starting mix or you can buy seed starting mix from garden stores. For preparing the seed starting mix you will need one part vermiculite one part perlite and 3 parts coconut coir. For detailed information about seed starting mix, find out in this article. After you have the seed starting mix, transfer the seed starting mix to a bigger bucket and gently moisten it.
-
Next, you will need to fill your seed starting trays and small containers with this seed starting mix.
Before you fill containers and seed trays with potting mix sterilise them properly. This prevents your seedlings from dying from any kind of infection.
Using small containers and seed trays for seed starting has many advantages. It provides the space for the seedlings to grow even bigger and you can use them more than once. This means you are generating less waste by reusing. You can also use other materials besides containers for seed starting.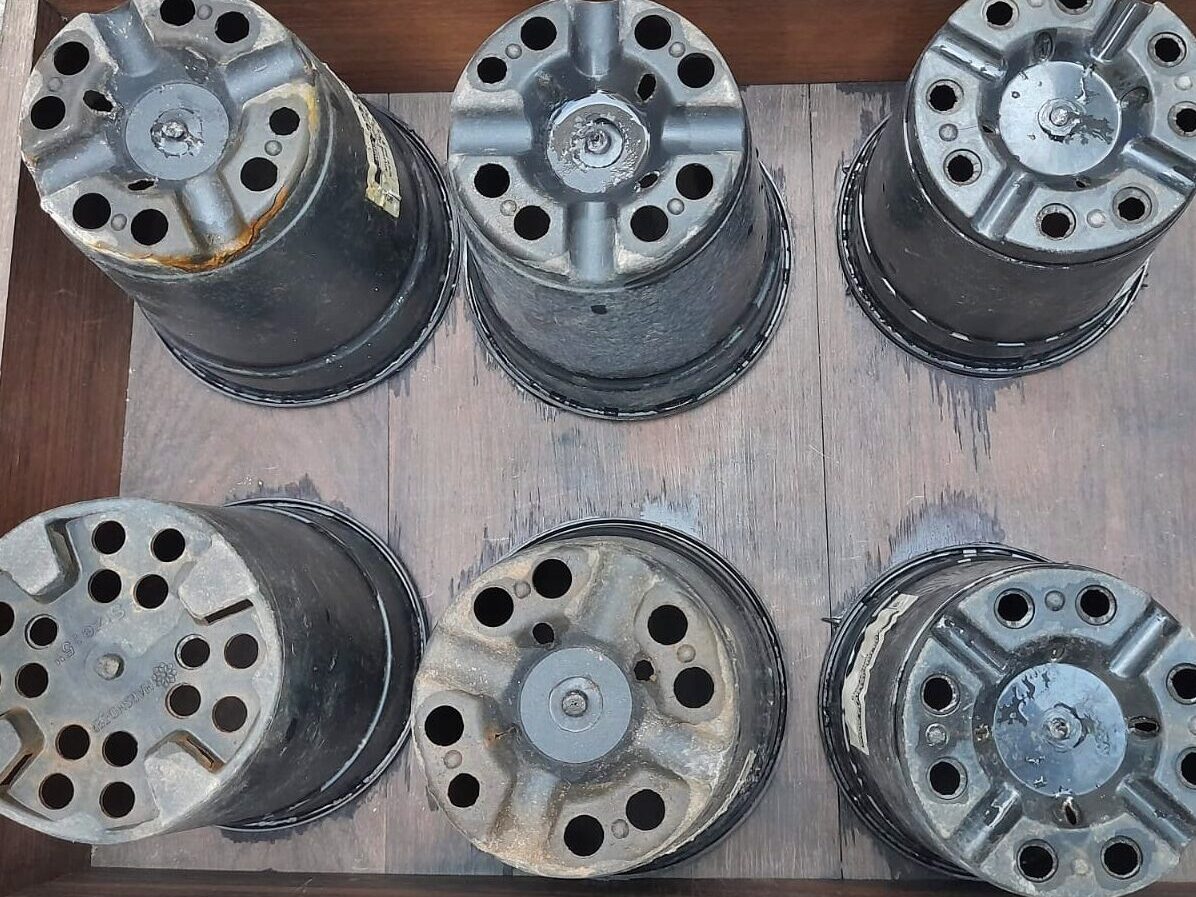
-
After filling your containers with potting mix the next step is to sow your seeds. Seeds should be sown half inch deep and you can sow 2 to 3 seeds in a single container. After sowing the seeds mist them slightly. After you have sown your seeds you can cover them with a lid or a plastic cover that has some holes. This provides the right humidity and warmth for your seeds to germinate. You can place the containers in a dark location as seeds do not need light to germinate. Check your seed trays and containers regularly to see if the seeds have germinated. After they have germinated you need to remove the lid or plastic cover.
A heat mat is not necessary in most cases if you live in warmer regions. But if you live in cooler regions you will need a heat mat. The germination temperatures for seedlings are between 70°F to 80°F You can set the temperature in a heat mat up to 75°F. Do not set the temperatures over 95°F as it can kill the seeds.
After your seeds have sprouted you can slowly reduce the temperature of the heat mat by 5°F every week.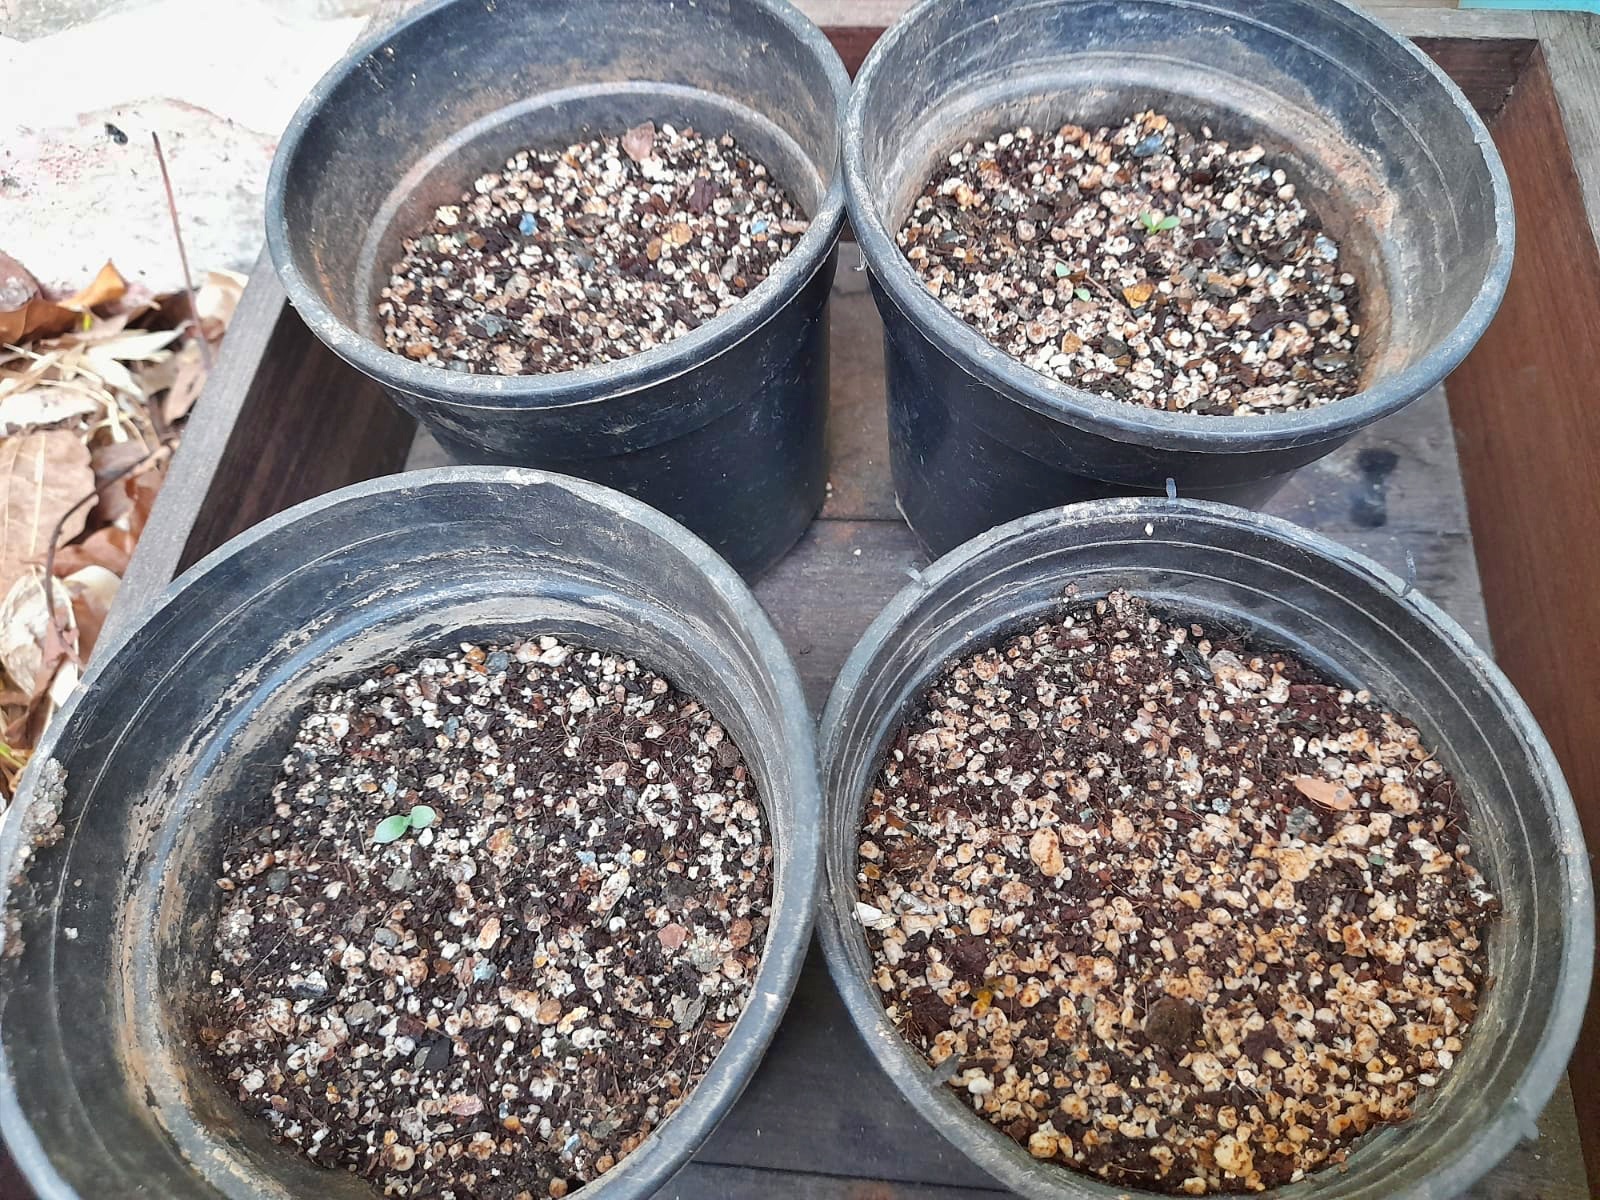
-
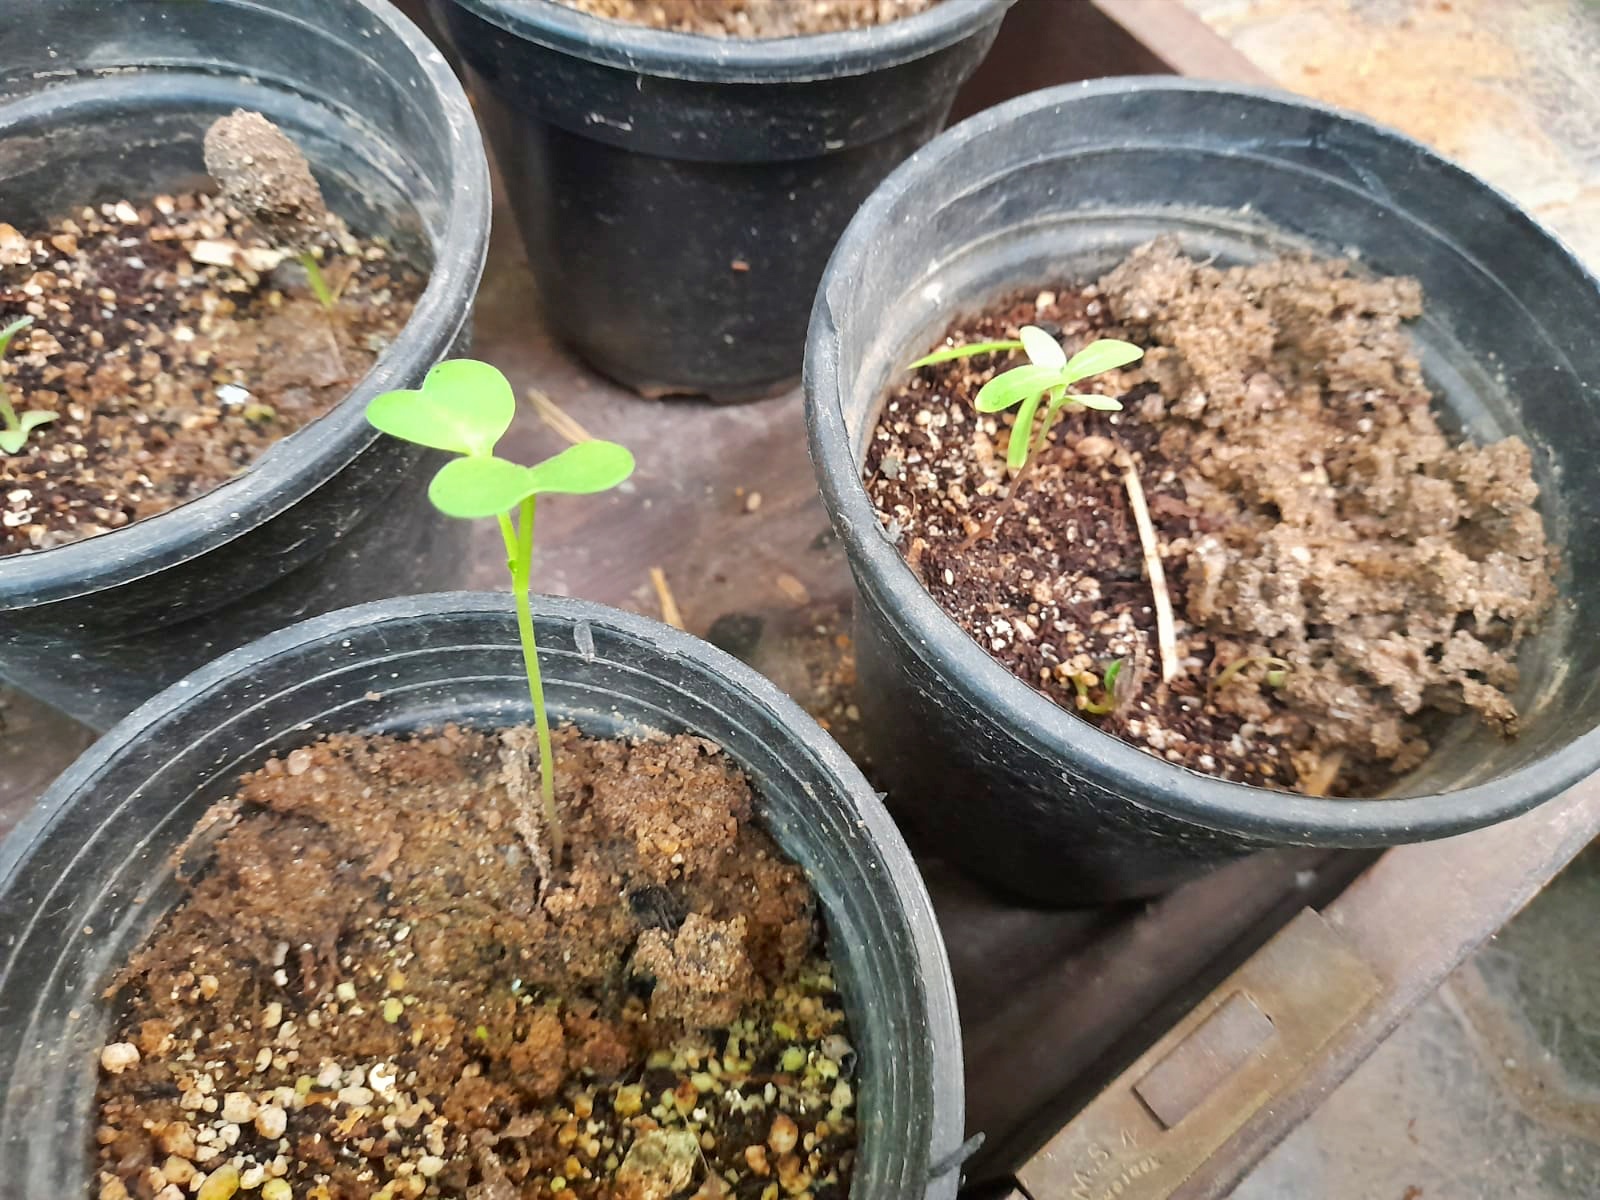
Once your seeds have germinated you will need to provide light for them to grow well. Seeds need at least 14 hours of light every day to grow well. If your location gets sunlight you can place them near your windowstill. On the other hand, if your location does not get enough sunlight you will need to provide artificial light for the seedlings. You can do this by buying growing lights or LED Lights
-
After a week after your seeds have sprouted, you must thin your seedlings. If two or more seeds have sprouted in a single container then pull out the weaker seedlings. This is done as they start to compete for nutrients if they are left to grow. By leaving one seedling in a container you can make sure that it grows into a healthy plant.
-
Seeds started indoors find it difficult to adapt to external conditions. Using an oscillating fan can help them to adapt to such external conditions and make them stronger. Using an oscillating fan can help to improve air circulation and prevent diseases such as powdery mildew and damping off. If you can’t use an oscillating fan, you can still use your finger to tilt your seedlings. This can help them to adapt to external climatic conditions.
-
Seeds have the necessary nutrients required to germinate and grow until they develop true leaves. After your seedlings have developed true leaves you can fertilise them with liquid seaweed fertiliser to help them grow. You can feed your seedlings once a week with this liquid fertiliser.
After your seedlings have grown big enough (6 to 8 inches tall), they can be transplanted outside. Make sure the weather conditions are favourable before you bring them outside to your garden. They must be kept in a location that has shade or gets partial sunlight for a week before they are brought to a location that gets full sunlight. This process is also called hardening off. In this process, you help your seedlings to get adjusted to the weather conditions outside. This is an important process that must be followed to help your seedlings adapt to external weather conditions.
